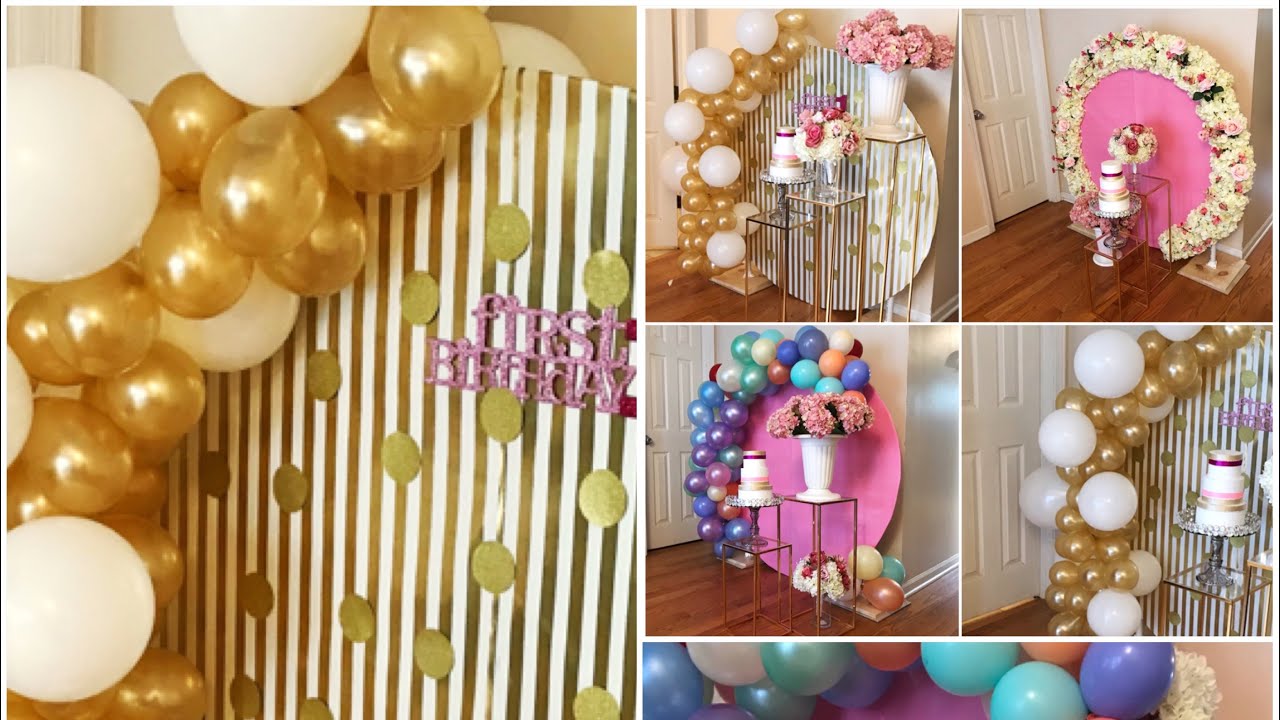
If you want to elevate your party decor without breaking the bank, creating decorative panels from cardboard and EVA foam is your ideal solution. This guide walks you through a creative, cost-effective, and sustainable way to produce stunning backdrops perfect for birthdays, weddings, and themed events.
🎨 Why Choose Cardboard & EVA Foam?
1. Inexpensive & Easily Found
- Cardboard is often free (think recycled boxes) or cheap from hardware or craft stores.
- EVA foam sheets come in various colors and are widely available—sometimes left over from past projects.
2. Customizable & Versatile
- Shape them into anything: letters, animals, arches, or abstract forms.
- Mix and match textures and colors to match your theme, from minimal to extravagant.
3. Eco-Friendly Options
- Reuse materials to create décor while reducing waste—a win-win for your wallet and the planet.
🧰 Materials You’ll Need
- Cardboard: Recycled or new sheets
- EVA Foam Sheets: Your choice of colors
- Adhesive: Hot glue gun (recommended) or white craft glue
- Cutting Tools: Scissors and a sharp craft knife
- Ruler & Pencil: For layout precision
- Stencils: Optional, for complex shapes
- Acrylic Paint: Optional, for extra detailing
Tip: Reuse what you already own or source foam scraps from craft swaps to save more.
✂️ Step-by-Step DIY Process
1. Design & Theme Planning
Start by defining the theme: Safari, princess, superhero, rainbow, etc. Use Pinterest or Instagram for inspiration and sketch rough drafts that include colors, shapes, and dimensions suitable for your backdrop space.
2. Prepare the Cardboard Base
- Cut sheets into panels—rectangles, arches, circles, or letters.
- For larger designs, glue pieces together for structure and stability.
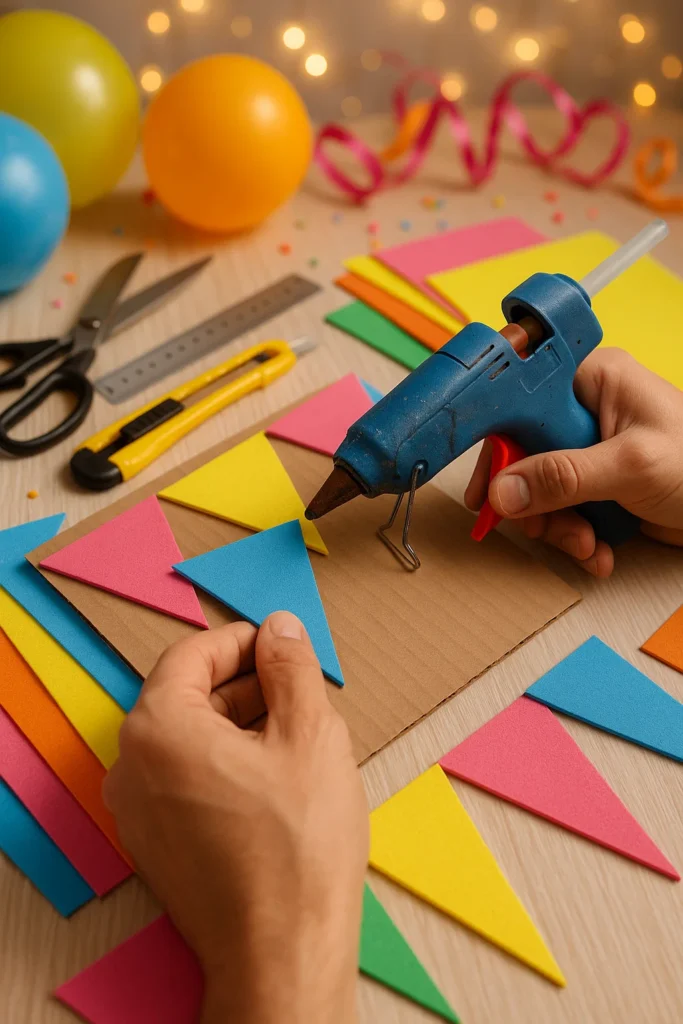
3. Cut and Attach EVA Foam
- Trace your design onto EVA foam and cut it out (freehand or with stencils).
- Secure pieces onto cardboard using hot glue. Press to eliminate air bubbles and ensure a strong bond.
4. Refine Color and Finish
- Combine different foam colors for visual interest.
- Paint foam for shading or highlights.
- Ensure clean, crisp edges and finishes—this makes all the difference.
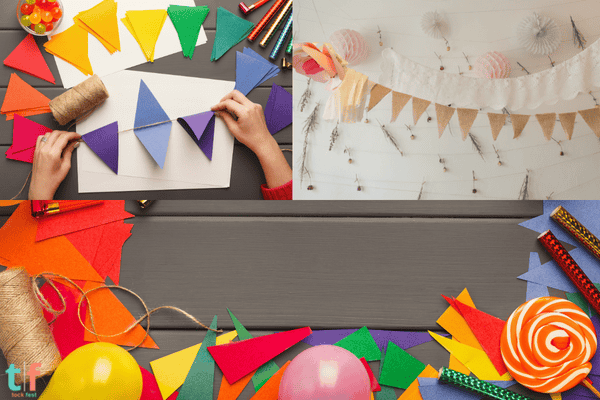
5. Embellish Your Panel
- Personalize with names, ages, or lockscreen-style icons.
- Add decorative elements: foam flowers, glitter, beads, and LED strips for dramatic effect.
🏠 Pro Tips for a Professional Finish
- Avoid Air Pockets: Glue in small sections and press gently.
- Durability Matters: Apply generous glue and allow it to dry fully before moving.
- Safe Transport: Wrap in bubble wrap or craft paper; avoid stacking heavy items on top.
💡 Theme Ideas to Inspire
- Safari: Jungle animals with faux foliage
- Princess: Soft pastels, crowns, and glitter accents
- Superhero: Bold color combos with comic-style cutouts
- Rainbow: Striped foam arcs or semicircles
- Minimalist: Elegant shapes in neutral tones
💵 How Much Will It Cost?
| Item | Approximate Cost |
|---|---|
| Cardboard | Free–$5 |
| EVA Foam Sheets | $5–$10 (per pack) |
| Glue & Supplies | $5 (reusable tools) |
| Estimated Total | $10–$20 per panel |
Creating your own panels often costs 50–70% less than buying pre-made ones, which usually run $20–$50 depending on size and detail.
✨ Final Thoughts
Decorative panels made from cardboard and EVA foam offer a creative, sustainable, and budget-friendly way to boost your event’s visual appeal. With just a bit of imagination and effort, you can craft personalized decor that wows your guests and reflects your unique style.
🌟 Want to Give It a Try?
What theme are you planning next? Share your ideas below—your creativity could inspire someone else!

Chloe Turner is a specialist in event planning and decoration, focusing on providing creative, practical, and budget-friendly solutions for parties. On TockFest.com, she shares the latest trends, tips, and innovations to help readers turn any celebration into a memorable experience. Chloe is dedicated to offering up-to-date and relevant content, ensuring that her audience has access to the best practices and ideas for creating beautiful, unique parties.