Small Sticks, Big Possibilities
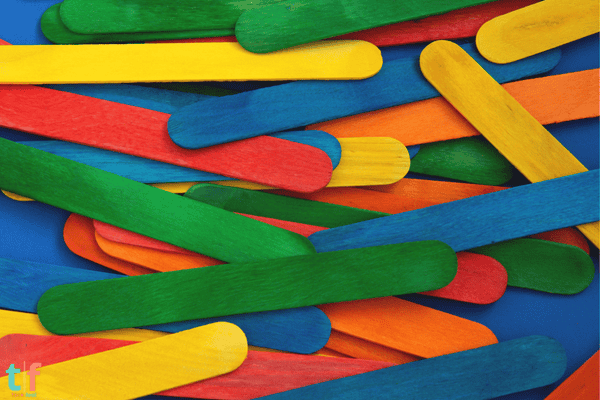
Popsicle sticks—simple, light, and often overlooked—are one of the most versatile and budget-friendly materials in the world of DIY. Whether you’re crafting with kids, decorating your home, or building miniature structures, these humble wooden sticks offer endless opportunities for creativity.
In this article, we’ll dive into a range of DIY projects using popsicle sticks that are fun, stylish, and often surprisingly durable. From wall art to desk organizers, there’s something here for every skill level and purpose.
Why Use Popsicle Sticks for DIY?
Affordable and Accessible
A pack of 100 sticks usually costs less than a coffee. You can find them at dollar stores, craft shops, or even reuse cleaned ice cream sticks.
Safe and Easy to Use
Great for kids and adults alike, popsicle sticks are lightweight, splinter-free, and easy to cut, paint, or glue.
Minimal Tools Required
Most projects need just a glue gun, paint, and maybe a pair of scissors or a craft knife.
Must-Have Materials and Tools
- Popsicle sticks (regular, jumbo, or colored)
- Hot glue gun or craft glue
- Acrylic paint or wood stain
- Craft knife or scissors
- Ruler and pencil
- Sandpaper
- Optional: string, beads, felt, mini clothespins, magnets
Project 1: Geometric Wall Art
What You’ll Need:
- 50–80 sticks
- Acrylic paint (in 2–3 complementary colors)
- Canvas or cardboard base
- Ruler and glue gun
Instructions:
- Paint the sticks in different colors and let them dry.
- Arrange them into hexagons, triangles, or diamonds.
- Glue the shapes onto a backing material in a symmetrical pattern.
- Hang it up as modern wall decor.
🎨 This project is perfect for minimalist, boho, or geometric interiors.
Project 2: Popsicle Stick Shelf
Ideal for: Displaying small plants, candles, or trinkets
How to Make It:
- Form a hexagon using six sticks and glue.
- Layer additional hexagons (up to 10–15) on top of each other for depth.
- Paint or stain your shelf.
- Attach it to the wall with adhesive hooks or nails.
🪴 A compact, functional piece that adds charm to any room.
Project 3: Personalized Bookmarks
Great for: Gifts, party favors, or personal use
Steps:
- Paint or draw on each stick with markers or pens.
- Add a motivational quote, name, or illustration.
- Tie a ribbon or tassel at one end.
- Optionally coat with clear varnish to protect the design.
📚 Simple and heartfelt—perfect for students or book lovers.
Project 4: Mini Pallet Coasters
You’ll Need:
- 11 sticks per coaster
- Hot glue
- Wood stain or paint
Assembly:
- Line up 7 sticks for the base.
- Glue 2 sticks vertically on top and 2 underneath (perpendicular).
- Paint or stain for a rustic or modern finish.
☕ Stylish, sturdy, and surprisingly useful!
Project 5: Popsicle Stick Planter
For: Succulents, cacti, or faux plants
Steps:
- Form a cylinder or square by gluing sticks side by side.
- Use a recycled tin can or plastic cup inside as a base.
- Paint or decorate the outside with patterns.
- Add soil and plant, or insert a faux plant for zero maintenance.
🌿 Eco-friendly and decorative for desks or windowsills.
Project 6: Desk Organizer or Pencil Holder
How-To:
- Create a box by gluing four walls using stacked sticks.
- Optionally separate into compartments with dividers.
- Decorate with initials, washi tape, or color-block paint.
- Use it to hold pens, scissors, brushes, or clips.
🖊️ Brings order and personality to your workspace.
Project 7: Mini Easel Display Stand
Best for: Wedding table numbers, small canvases, or photos
Instructions:
- Use 3 sticks to form a triangle.
- Glue a horizontal stick as the “shelf.”
- Add a back leg to support the easel.
- Paint or embellish as desired.
🖼️ Elegant, functional, and easy to scale up for events.
Creative Add-Ons & Variations
- Add magnets to the back of small pieces to make fridge decor.
- Use glitter, stickers, or decoupage for layered designs.
- Try wood burning tools for intricate detailing.
- Build toys like catapults, doll furniture, or mini houses.
- Create puzzles by painting full designs and slicing the sticks.
Tips for Working with Popsicle Sticks
- Pre-sand rough edges if needed.
- Use tweezers for precise glue placement in tight spots.
- Lay out designs before gluing to avoid misalignment.
- Let glue dry fully before adding weight or painting.
- Use rubber bands to hold joints together while drying.
Craft Something Beautiful Today
Popsicle sticks prove that you don’t need expensive materials to create stunning, functional, and personal DIY projects. They invite experimentation, encourage upcycling, and offer rewarding results no matter your skill level.
Whether you’re making home decor, thoughtful gifts, or practical items for everyday use—these tiny sticks can make a big impression.
👉 Loved these ideas? Share this article with friends, teachers, or family members and spread the joy of accessible creativity. The next great craft could be just a stick away! 🌟

Chloe Turner is a specialist in event planning and decoration, focusing on providing creative, practical, and budget-friendly solutions for parties. On TockFest.com, she shares the latest trends, tips, and innovations to help readers turn any celebration into a memorable experience. Chloe is dedicated to offering up-to-date and relevant content, ensuring that her audience has access to the best practices and ideas for creating beautiful, unique parties.