Visual Differentiation That Grabs Attention
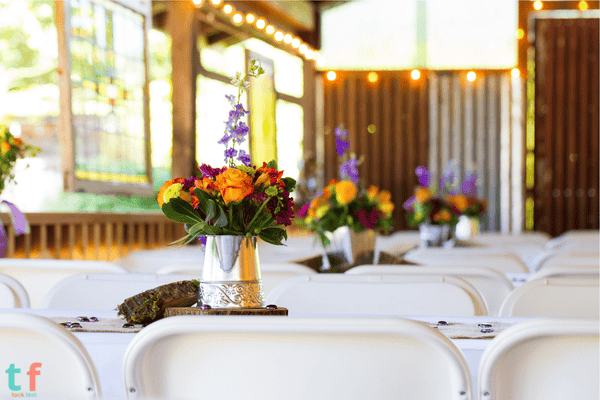
Personalized table centerpieces are perfect for standing out in any decoration. Unlike mass-produced items, personalized centerpieces add a unique and exclusive touch to your celebration.
Cost-Effective: Handmade is Cheaper than Buying Pre-made
Opting for handmade centerpieces can be more economical than purchasing ready-made ones. Not only are they more affordable, but you also have full control over the style and materials, allowing you to choose more budget-friendly or recycled options.
Versatility: Adaptable to Any Theme, Age, or Style of Party
Whether it’s for a kids’ party, a birthday, or even a corporate event, table centerpieces can be fully adapted to the theme of the party, creating a stunning visual harmony.
Materials Needed
Here’s a list of essential materials to create creative table centerpieces, along with variations to ensure you can adapt the project to your taste and budget.
Basic List:
- Glass jars or vases
- EVA foam (in your preferred colors)
- Colored paper
- Ribbons
- Hot glue
- Glitter
- Artificial flowers
- Themed miniatures (characters, figures, or theme symbols)
Recyclable Materials:
- Cans (from food or drinks)
- Bottles (glass or plastic)
- Plastic jars
- Cardboard (for the base or structure)
Tip:
“Buy from discount stores or use what you already have at home! Don’t underestimate the power of recycling materials!”
Step-by-Step: How to Create a Creative Table Centerpiece
Now that you have your materials ready, follow this step-by-step guide to create amazing table centerpieces for your party.
Choosing the Theme and Colors
The first step is to choose the party’s theme and the colors that will complement the rest of the decor. This will directly influence your choice of materials and the centerpiece design.
Theme Examples:
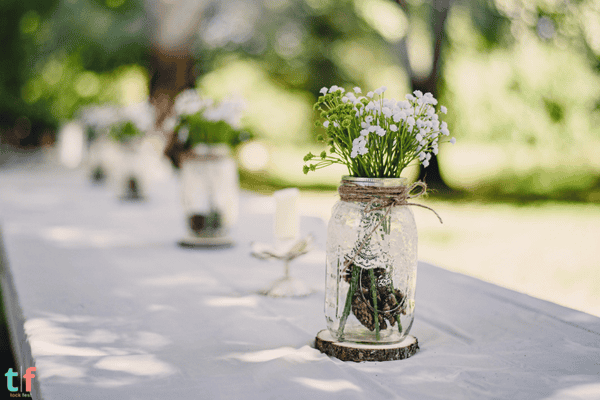
- Rustic: Glass jars, dried flowers, and burlap.
- Princess: Decorated jars with satin ribbons, glitter, and mini crowns.
- Circus: Elements like balloons, mini clowns, and bright colors.
- 80s: Neon, vinyl, and retro accessories.
- Tropical: Large leaves, colorful flowers, and artificial fruits.
Building the Base
Choose a jar, vase, or any other holder as the base. To ensure your centerpiece is firm and secure, fill the base with sand, pebbles, or other heavy materials like styrofoam balls that help stabilize the elements placed on top.
If you’re using recyclable materials like cans or bottles, it’s a good idea to cover the exterior with fabric, paper, or paint for a more polished finish.
Creating the Decorative Elements
Now it’s time to unleash your creativity! Use EVA foam, crepe paper, stickers, or miniatures to form the top of the centerpiece. You can create mini panels, character figures, or artificial flowers. Be mindful of balancing the proportions to avoid overloading the centerpiece with too many elements.
Tips:
- For a princess theme, create a base with EVA foam and add a mini crown or artificial flowers.
- For a tropical theme, mix natural and colorful elements like leaves and flowers.
Finishing Touches
Lighting is a great way to add extra charm to your centerpiece. Use LED lights or LED candles to create a cozy atmosphere.
Personalize it with the guest of honor’s name, age, or a special phrase. The finishing touches make all the difference in completing the centerpiece and ensuring it fits perfectly with the party theme.
Glue Tips:
Use hot glue for a stronger hold to ensure that the items stay in place throughout the event.
Creative and Themed Ideas for Inspiration
Here are some ideas for table centerpieces for different types of parties:
- Kids’ Party: Cartoon characters, animals, or toys. You can include miniatures or figures related to the party theme.
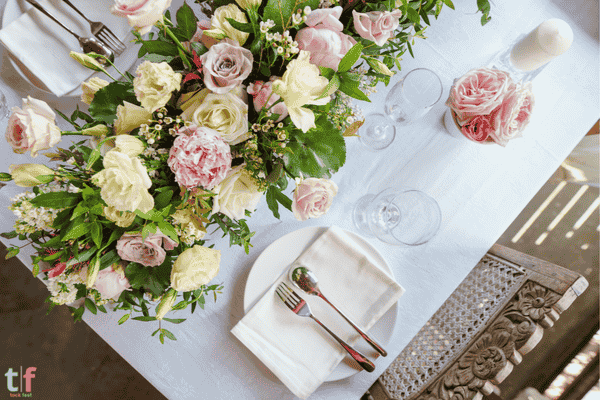
- Adult Party: Minimalist with candles and flowers, or more elaborate themes like vintage, tropical, or floral.
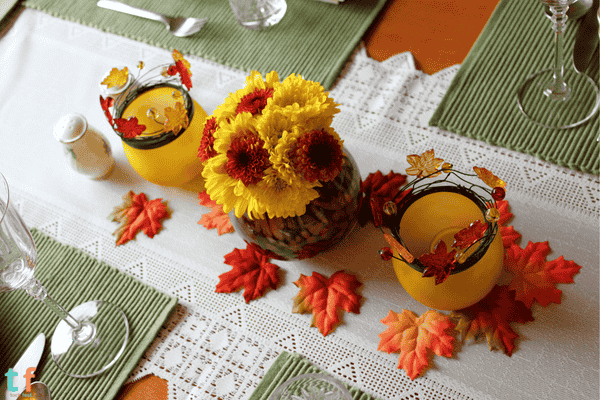
- Holiday Parties: Christmas (mini trees and lights), Halloween (pumpkins and cobwebs), and Junina Festival (banners and typical elements).
Common Mistakes and How to Avoid Them
Even though it’s a simple task, some pitfalls can occur when setting up your table centerpieces. Here are some common mistakes and how to avoid them:
- Exaggerated Proportions: Don’t let the centerpiece take up too much space. It should be beautiful, but not obstructive to guests’ view.
- Overuse of Elements: Keep it simple and balanced, avoiding overcrowding the centerpiece with too many details.
- Fragile or Unstable Materials: Use materials that ensure stability, especially for heavy or delicate elements.
How Much Does It Cost to Make a Creative Table Centerpiece?
The cost of creating a table centerpiece depends on the materials chosen. If you opt for recyclable materials, the cost can be very low, ranging from $1 to $3 per unit. If you prefer to buy new materials, the cost can range from $5 to $10, depending on size and complexity.
Tips for Making a Large Quantity on a Budget:
Buying materials in bulk or using what you already have at home can significantly reduce costs. Additionally, discount stores are a great option to save money.
Conclusion + Encouragement for Creativity
Remember: what really makes a difference in any event is the love and attention to detail. Creating your own table centerpieces is an easy and cost-effective way to personalize your party, without compromising on beauty or style.
Encouragement: “You don’t need to be an expert in crafting — start with what you have!”
Now it’s your turn! Use your creativity, recycle materials, and create table centerpieces that will surprise your guests and make your event unforgettable.
👉 If you enjoyed this guide, share it with your friends and inspire them to create their own creative table centerpieces!
💬 Tell us: What theme would you choose for your table centerpieces? Leave a comment below — your idea might inspire others!

Chloe Turner is a specialist in event planning and decoration, focusing on providing creative, practical, and budget-friendly solutions for parties. On TockFest.com, she shares the latest trends, tips, and innovations to help readers turn any celebration into a memorable experience. Chloe is dedicated to offering up-to-date and relevant content, ensuring that her audience has access to the best practices and ideas for creating beautiful, unique parties.